約3.5万円でイーサリアムフルノードを構築する手順②

はじめに
前回は、ハードウェアを購入し、ルーターの設定およびUbuntuのインストールを行いました。
今回は、いよいよイーサリアムクライアントである実行クライアントとコンセンサスクライアントをインストールします。
※クライアントについては「ノードとクライアント」をご参照ください。
インストール後は、実行クライアントとコンセンサスクライアントをsystemdを使ってサービス化を行います。
また、ログも出力するのでログローテーションの設定を行います。
※Linuxの技術的知識がある程度必要になるのでご注意ください
1. ユーザー作成
以下にてethereumユーザーを作成します。
$ sudo adduser ethereum2. Gethのインストール
以下コマンドで、Geth (実行クライアント) をインストールしてください。
$ sudo add-apt-repository -y ppa:ethereum/ethereum
$ sudo apt-get update
$ sudo apt-get install ethereum
3. Lighthouseのインストール
Lighthouse(コンセンサスクライアント)をインストールします。下記リンクを参考に最新版をインストールする必要があります。
※本ページでは、現在の最新版であるv4.4.1をインストールします。
$ cd ~
$ curl -LO https://github.com/sigp/lighthouse/releases/download/v4.4.1/lighthouse-v4.4.1-x86_64-unknown-linux-gnu-portable.tar.gz
$ tar -xvf lighthouse-v4.4.1-x86_64-unknown-linux-gnu-portable.tar.gz
以下、バージョンが正常に出力されることをテストしてください。
$ ./lighthouse --version

Lighthouse v4.4.1-2841f60
BLS library: blst-portable
SHA256 hardware acceleration: true
Allocator: jemalloc
Profile: maxperf
Specs: mainnet (true), minimal (false), gnosis (true)
以下にて、/usr/binにプログラムを配置します。
$ sudo cp lighthouse /usr/bin4. systemdを使ってサービス化をする
毎回クライアントを長々としたオプション付きのコマンドで立ち上げるのは、不便です。
そのため、systemdを使ってサービス化を行います。
まず、ルートユーザになってsystemdによるサービスファイルを作成します。
$ sudo su - root
# cd /etc/systemd/system/
gethのサービスファイルの作成
# touch geth.service
# vi geth.service
以下内容で保存してください。
[Unit]
Description=Ethereum go client
After=network.target

[Service]
User=ethereum
Group=ethereum
Environment=HOME=/home/ethereum
Type=simple
ExecStart=/usr/bin/geth --http \
                        --http.api "eth,net,web3,txpool"

KillMode=process
KillSignal=SIGINT
TimeoutStopSec=90
Restart=on-failure
RestartSec=10s
StandardOutput=syslog
StandardError=syslog
SyslogIdentifier=geth

[Install]
WantedBy=multi-user.target
※RPCエンドポイントを有効化しています。
lighthouseのサービスファイルの作成
# touch lighthouse.service
# vi lighthouse.service
以下内容で保存してください。
[Unit]
Description=Ethereum lighthouse client
After=network.target

[Service]
User=ethereum
Group=ethereum
Environment=HOME=/home/ethereum
Type=simple
ExecStart= lighthouse bn \
           --network mainnet \
           --execution-endpoint http://localhost:8551 \
           --execution-jwt ${HOME}/.ethereum/geth/jwtsecret \
           --checkpoint-sync-url https://mainnet.checkpoint.sigp.io \
           --disable-deposit-contract-sync

KillMode=process
KillSignal=SIGINT
TimeoutStopSec=90
Restart=on-failure
RestartSec=10s
StandardOutput=syslog
StandardError=syslog
SyslogIdentifier=lighthouse

[Install]
WantedBy=multi-user.target
※ETHのバリデータは無効にしています
サービスを有効化
以下コマンドでサービスを有効化します。
# systemctl daemon-reload
# systemctl enable geth
# systemctl enable lighthouse
5. ログ設定
ログ設定をしないとログファイルが肥大化してしまいます。
本設定では、gethのログを/var/log/geth.logに出力し、lighthouseのログを/var/log/lighthouse.logに出力します。
以下、rootユーザーにてrsyslogの設定ファイルを作成します。
gethのrsyslog設定
# cd /etc/rsyslog.d/
# touch 22-geth.conf
# vi 22-geth.conf
以下内容で保存してください。
if $programname == 'geth' then /var/log/geth.log
if $programname == 'geth' then ~
Lighthouseのrsyslog設定
# touch 23-lighthouse.conf
# vi 23-lighthouse.conf
以下内容で保存してください。
if $programname == 'lighthouse' then /var/log/lighthouse.log
if $programname == 'lighthouse' then ~
上記の設定を反映させるため、rsyslogを再起動します。
# systemctl restart rsyslogログローテーションファイルの作成
以下コマンドにて、ログローテーションの設定ファイルを作成します。
# cd /etc/logrotate.d/
# touch eth-client
# vi eth-client
今回は、以下内容としました。
※本設定は、各自のお好みになると思います。
/var/log/lighthouse.log
/var/log/geth.log
{
        rotate 4
        weekly
        missingok
        notifempty
        compress
        delaycompress
        sharedscripts
        postrotate
                [ -x /usr/lib/rsyslog/rsyslog-rotate ] && /usr/lib/rsyslog/rsyslog-rotate || true
        endscript
}
6. クライアントの起動と確認
これで動作せさる準備が整いました。
以下コマンドにて起動することができます。
$ sudo systemctl start geth
$ sudo systemctl start lighthouse
プロセスが起動しているか以下コマンドで確認できます。
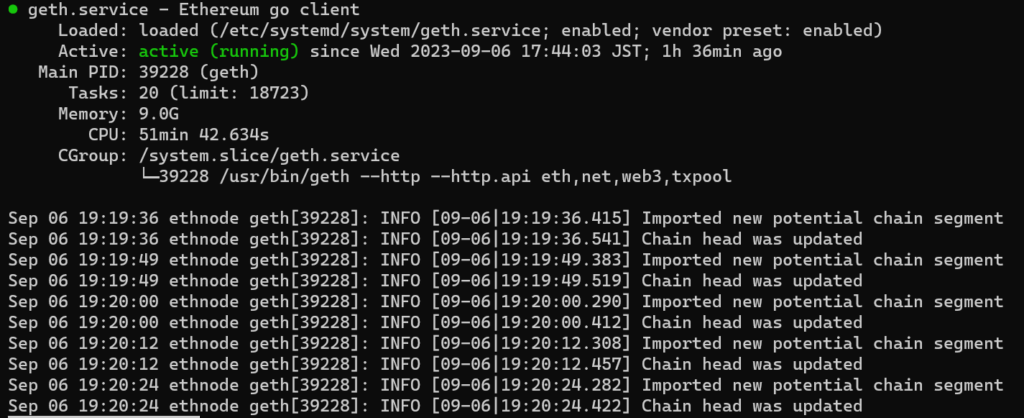
$ sudo systemctl status -l geth
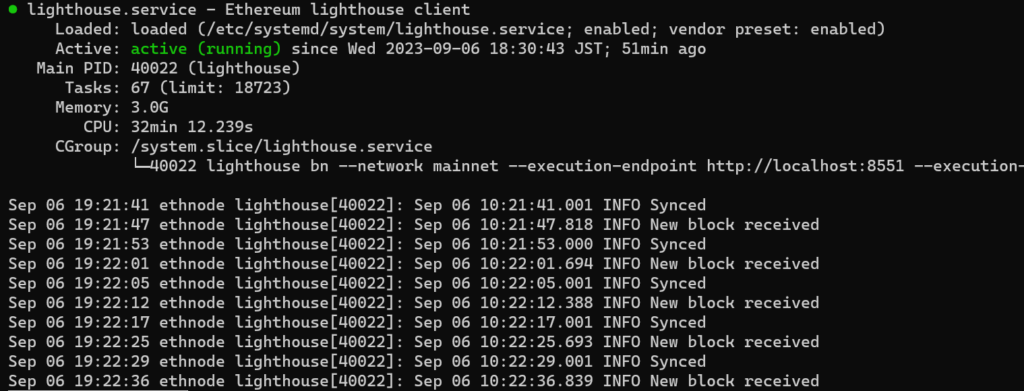
$ sudo systemctl status -l lighthouse
以下コマンドにて、現在のログの確認ができます。
$ tail -f /var/log/geth.log
$ tail -f /var/log/lighthouse.log
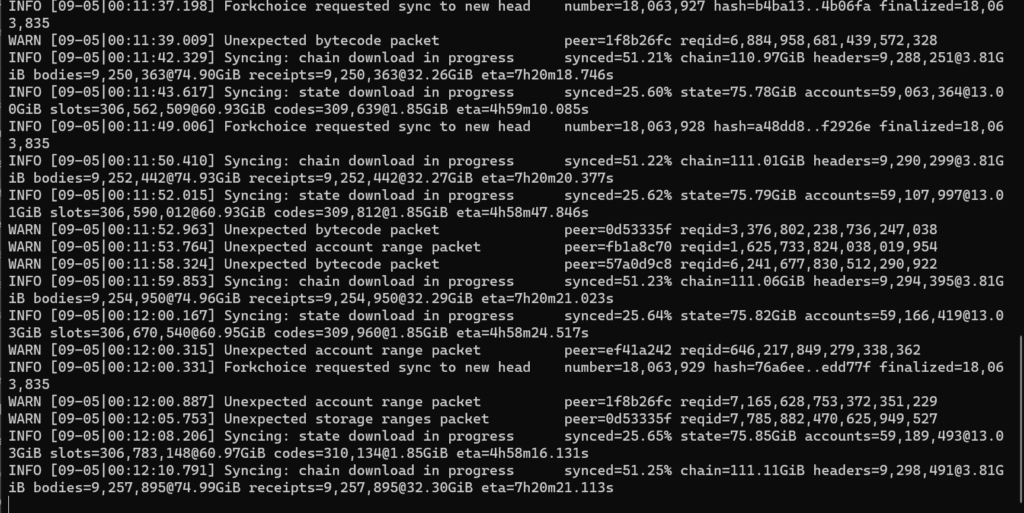
geth.logに表示されている「chain」および「state」の「synced=100%」になれば同期が完了です。
ネットワークの速度によりますが、1~2日は掛かるかと思います。

まとめ
以上、簡単にですが、低価格でイーサリアムのフルノードをインストールする方法をご紹介しました。
今回は、Geth(実行クライアント)とLighthouse(コンセンサスクライアント)を使っていますが、他にもクライアントがあります(Teku、Erigon、Lodestar等)。
上記に関しては、「クライアントの多様性」をご参照ください。
クライアント設定に関しては、お好みで色々と機能を追加できます(MEVブーストやステーキングなどを行うバリデータなど)。
詳細は、クライアントのドキュメントをご確認ください。
・Gethのドキュメント
また、他にもインストールするアイデアやセキュリティなどで追加の設定もあると思います。
共有いただけますと幸いです。
ご不明点等ございましたら、お気軽にお問い合わせください。
ここまで、読んでくださりありがとうございました。